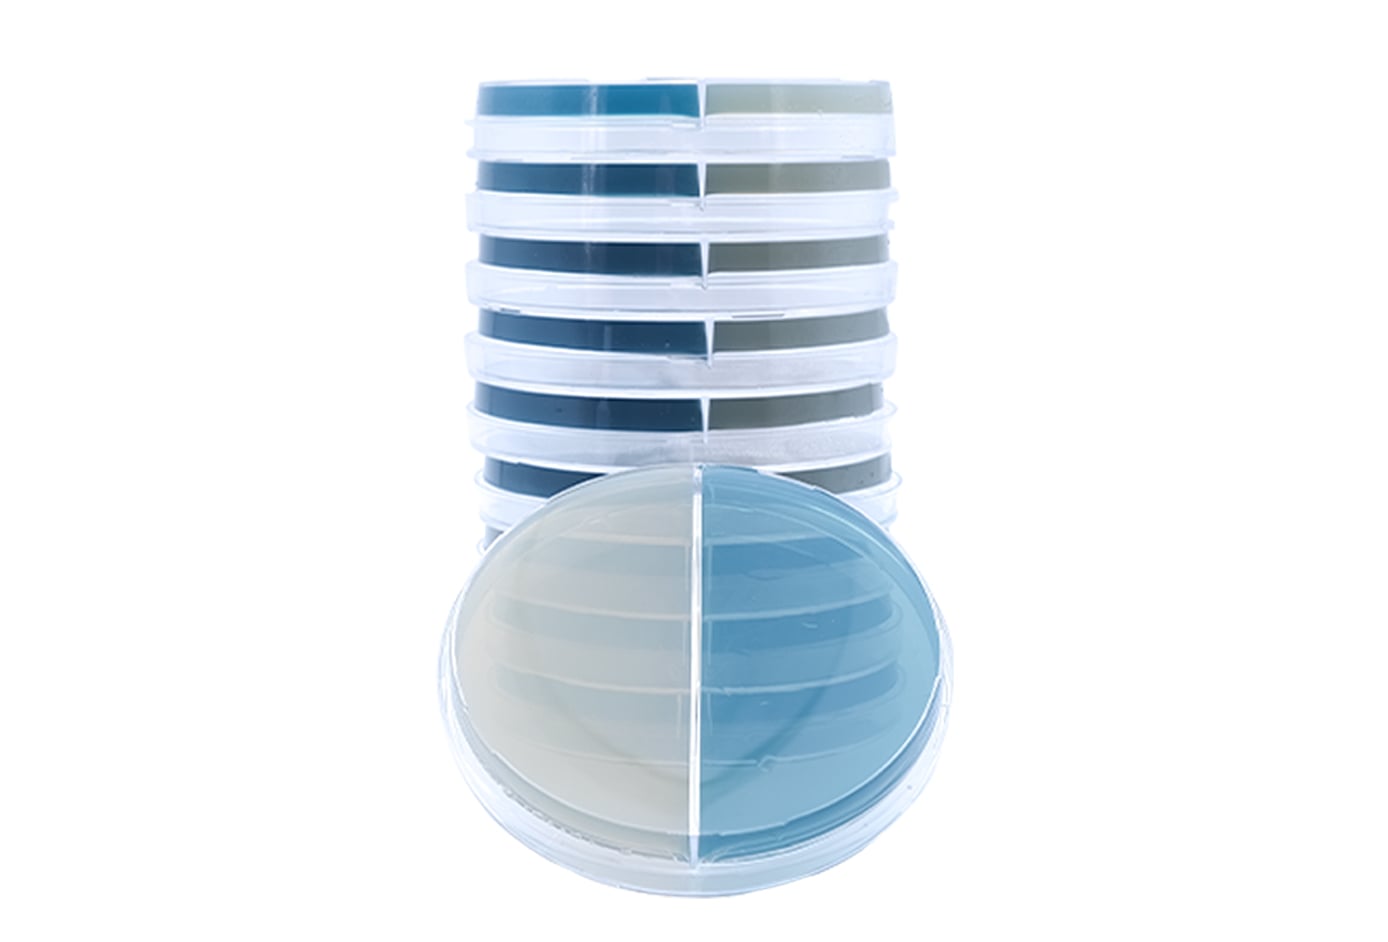
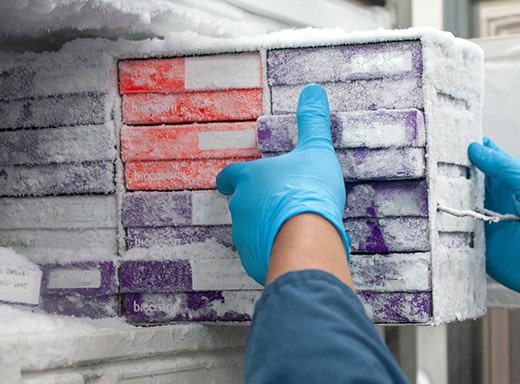
 Yeast & Bacteria Bank
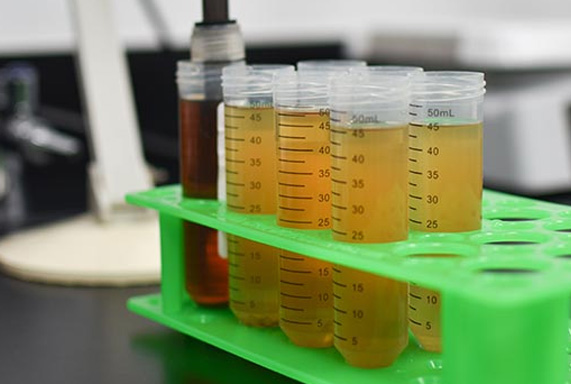
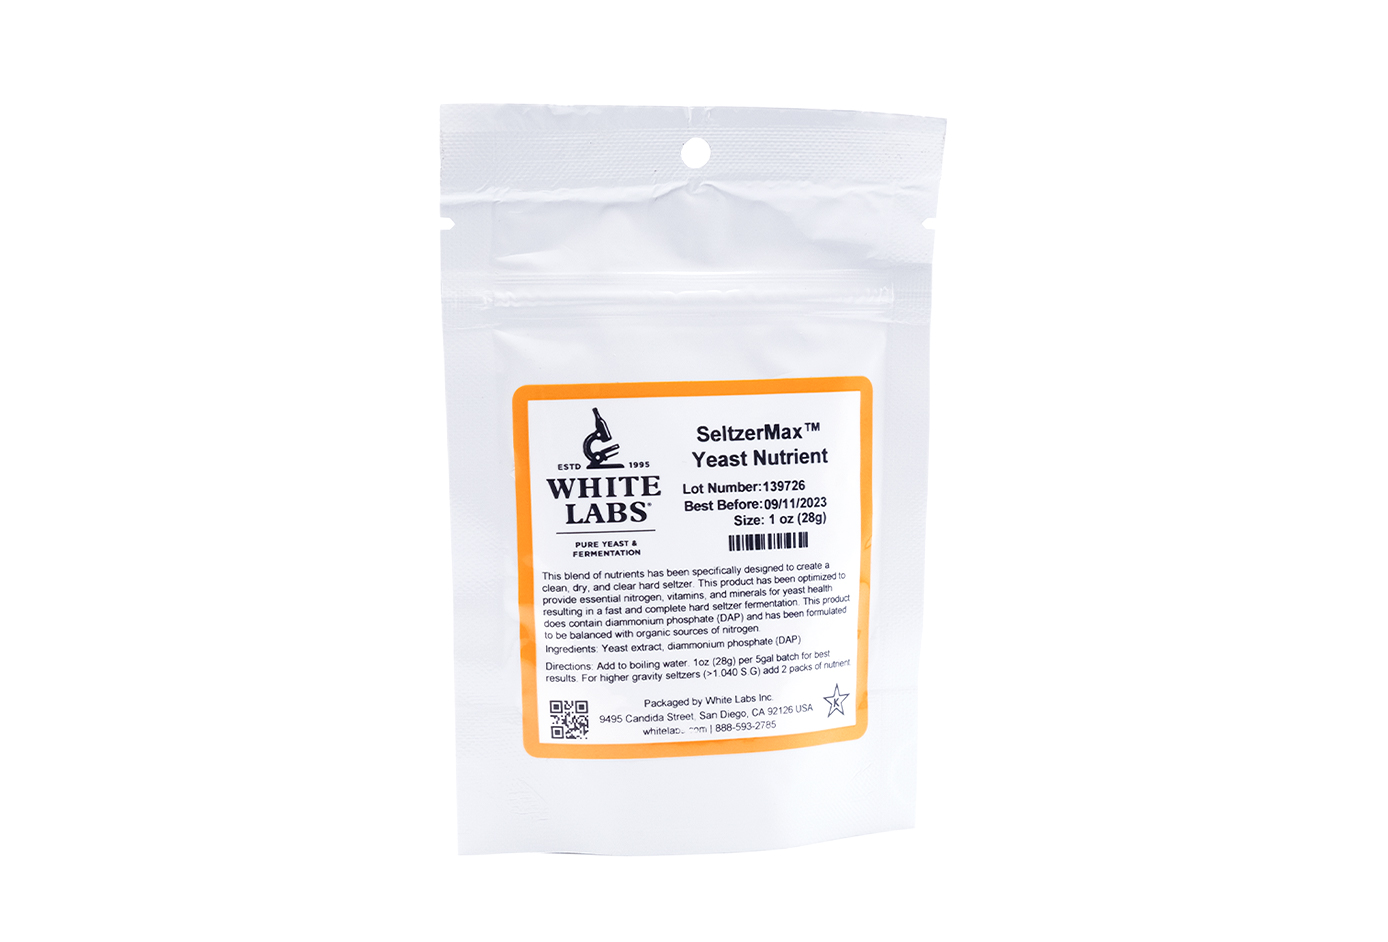
 Enzymes & Nutrients
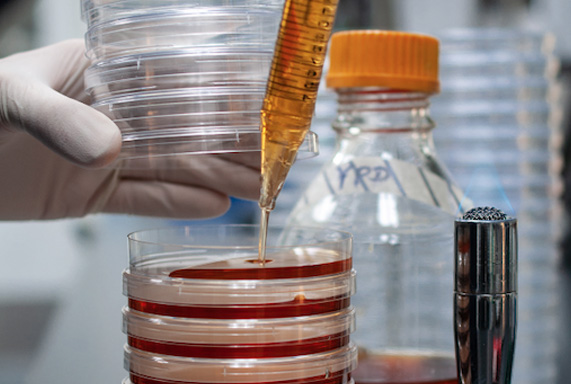 Lab Services
 Education
 Merchandise
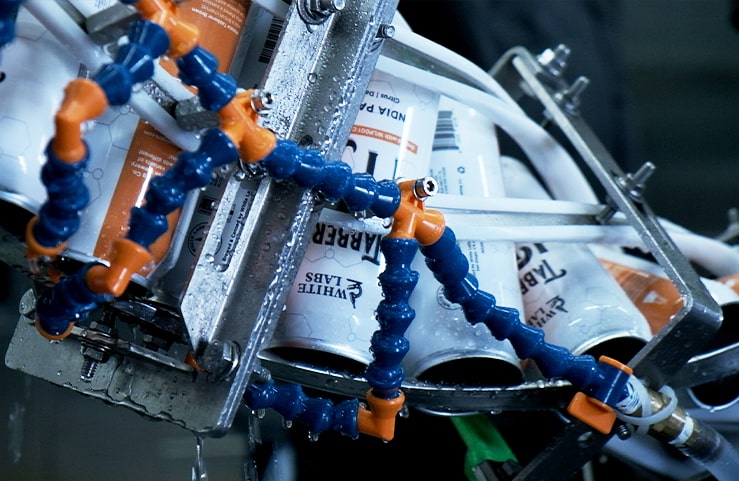
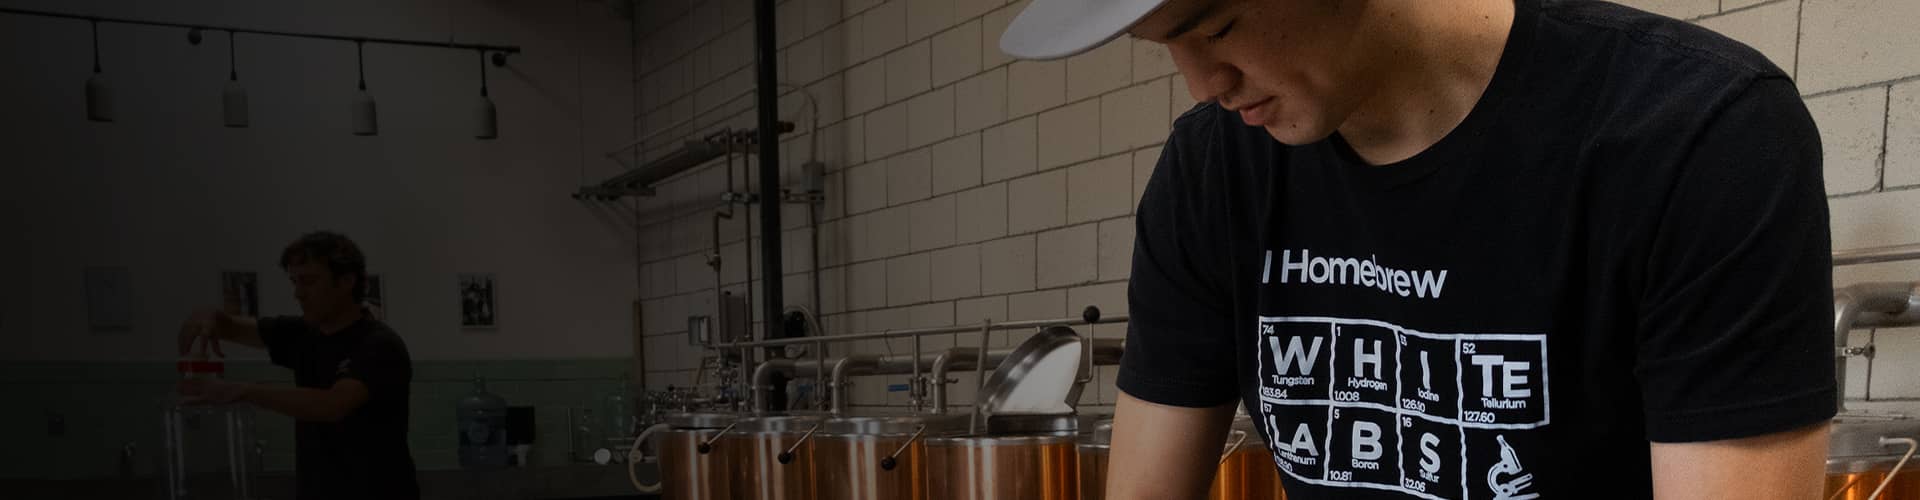
White Labs started by making liquid yeast for home brewers and then quickly grew to offer the same liquid yeast to professionals
For over 25 years, White Labs has expanded offerings to fit every need of the modern brewer from yeast and fermentation aids to education and lab service
Yeast Bank
With over 69 strains in stock suitable for over 200
styles find the perfect fit today!


Most Popular
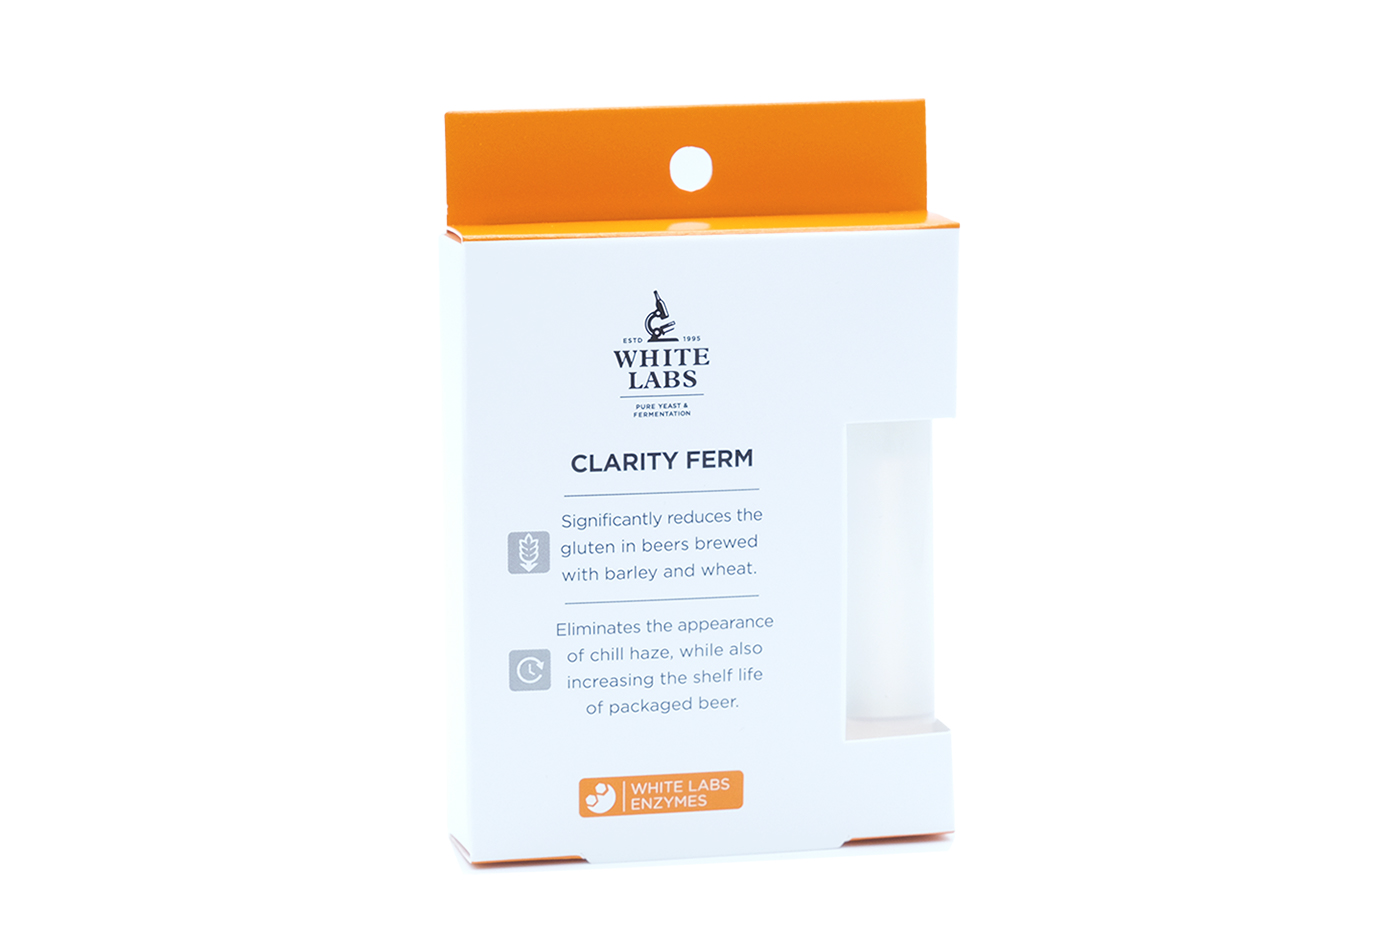
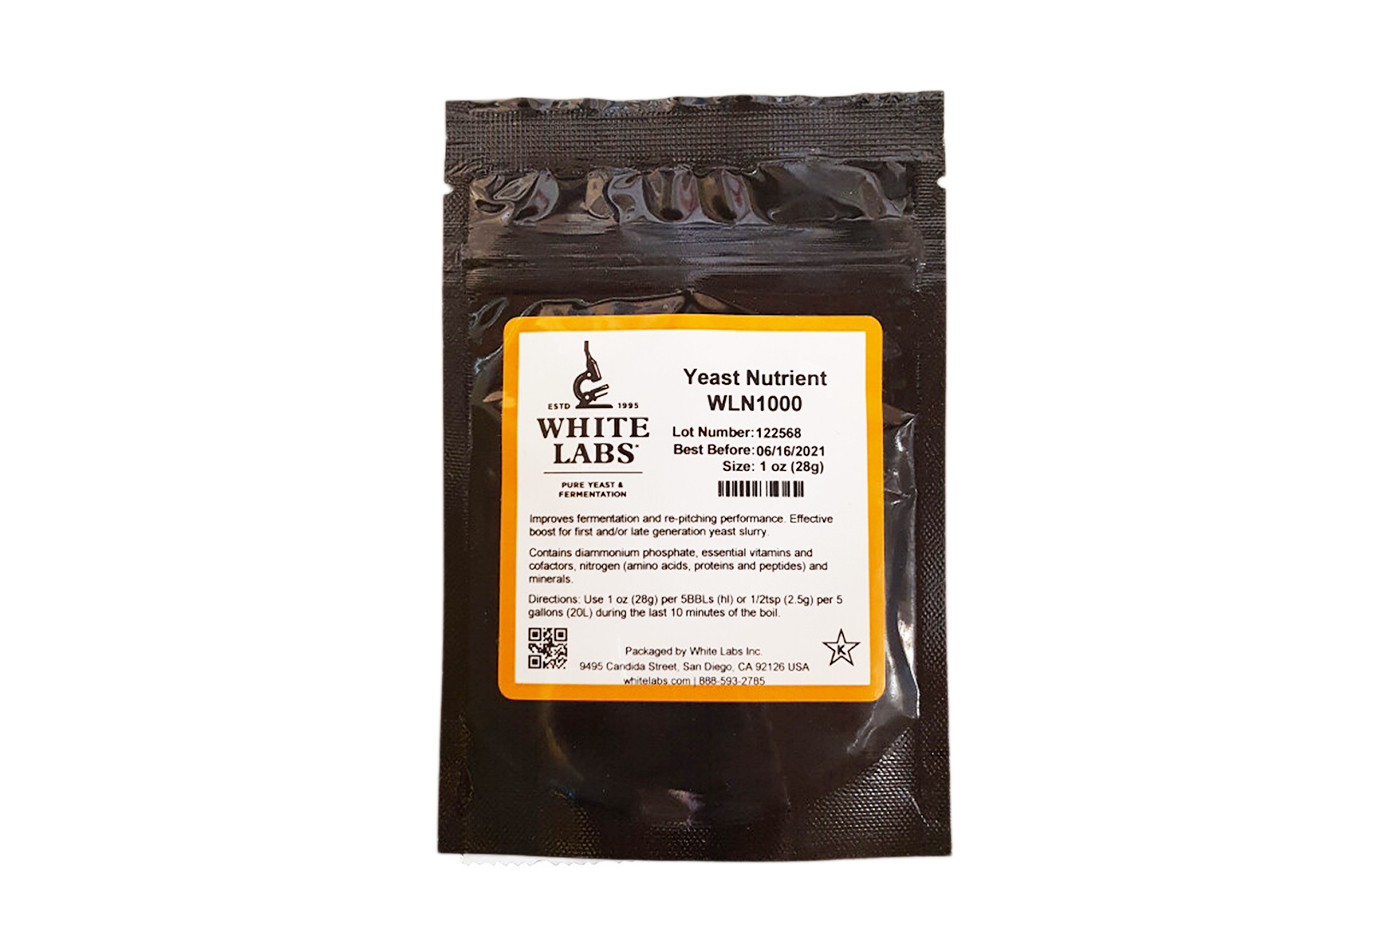
Enzymes
& Nutrients
From clarifying aids to mash additions, check out our variety of enzymes!
View All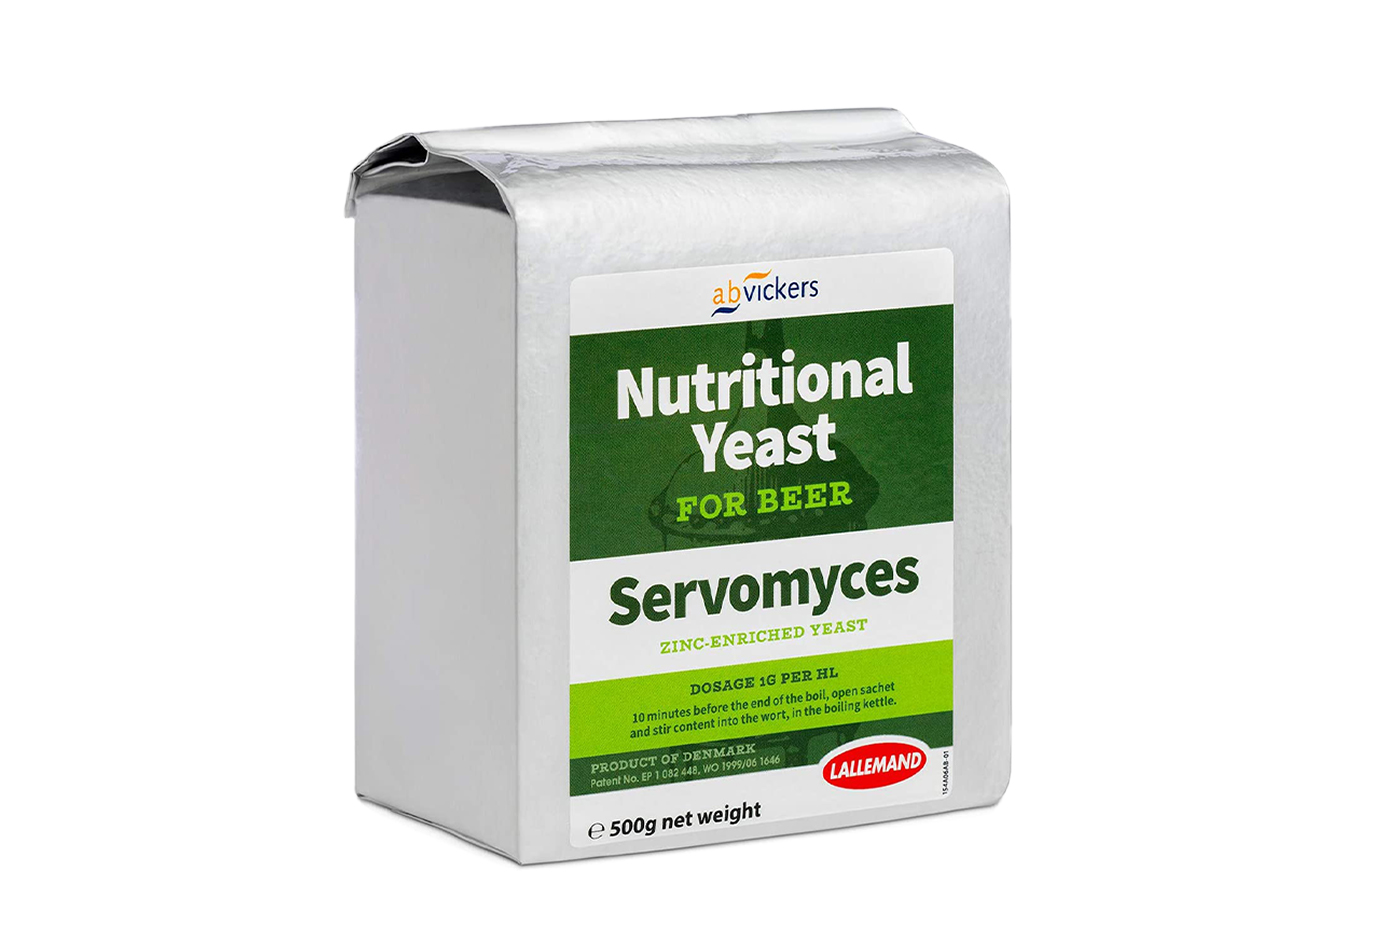
Products and Services
Helpful for beer
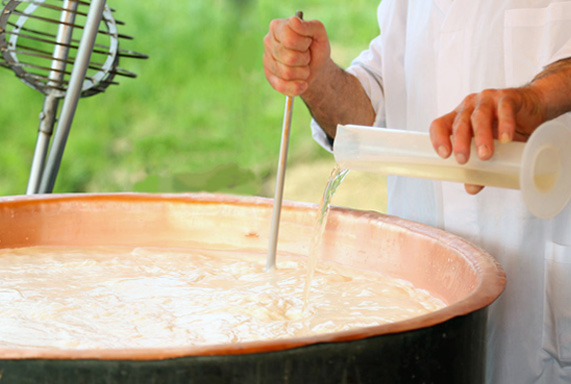
White Labs Brewing Co.
White Labs Brewing Co. is dedicated to educating consumers about the impact of yeast and fermentation on food and beverage. Visit us the next time you are in San Diego or Asheville to experience our signature side by side beer flights, and speciality pizzas made with White Labs kviek yeast.
Visit White Labs Brewing Co.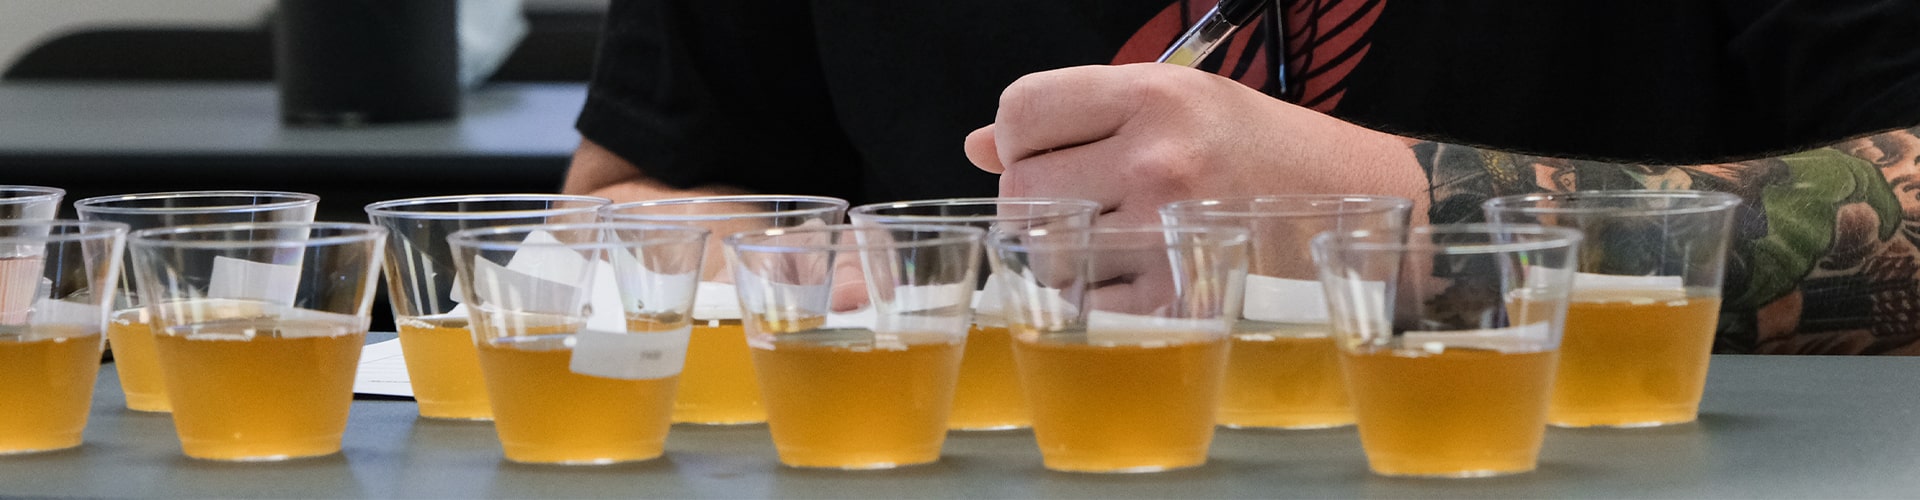
Resources
WHITE LABS BLOG
Learn more about our latest blogs!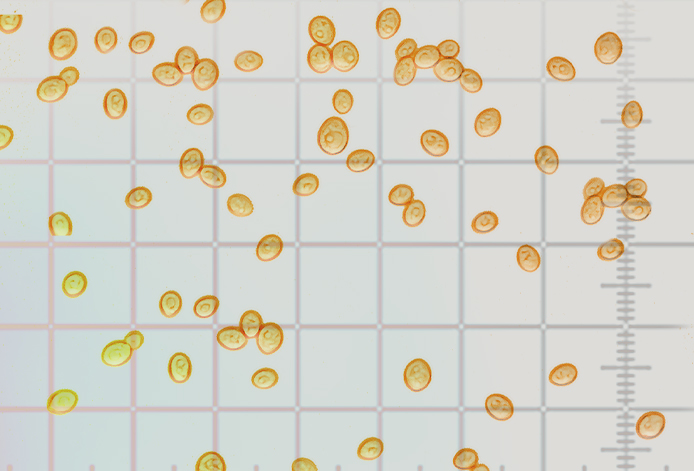
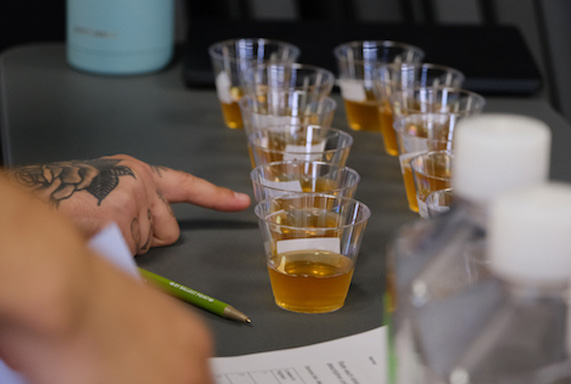
CELL COUNTING YOUR YEAST CULTURE
Cell counting yeast is one of the top 5 lab tests you can do in your brewery with little investment or scientific background!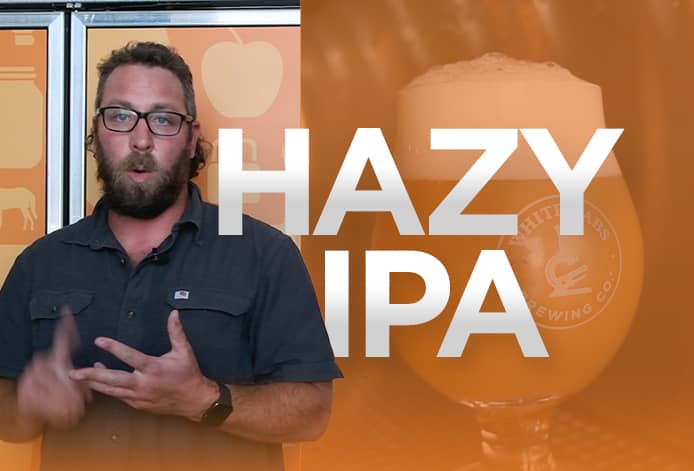
WHITE LABS WEBCAST
The newest educational webcasts and follow our Beer-TV on Youtube!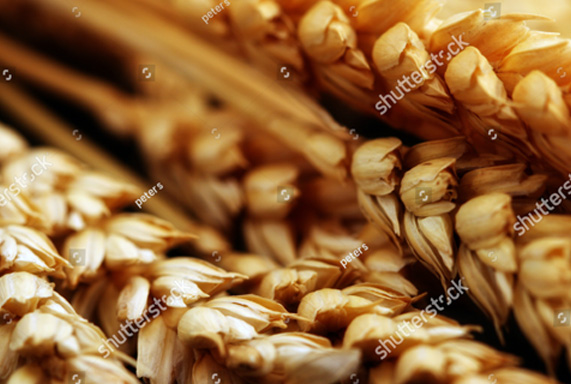
Yeast Blog Post
Lorem ipsum dolor sit amet, consectetur adipisicing
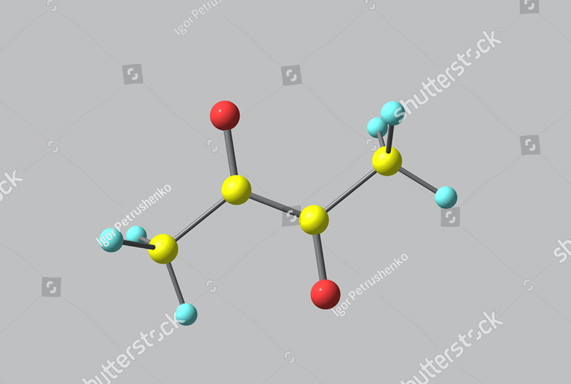
Diacetyl Paper
Lorem ipsum dolor sit amet, consectetur adipisicing

Using Brett in Secondary
Lorem ipsum dolor sit amet, consectetur adipisicing